How can you easily add animation and interest to your PowerPoint presentations? One option is to try the Morph transition feature.
How to Use the Morph Transition
Transitions are animations between slides. The Morph transition is an easy way to add interest and animation without building multiple manual animation steps. With the Morph transition, you can animate shapes, icons, images, SmartArt graphics, and text. It’s good to know that charts don’t morph.
To see examples of the Morph transition, check out my video below:
To Work with the Morph Transition
To use the Morph transition effectively, you’ll need to have two slides with at least one object in common—the easiest way is to duplicate the slide and then move the object on the second slide to a different place or copy and paste the object from one slide and add it to the next. You can move objects around on the slide, change colors, move words and characters around, and much more.
In the example below (created with the PowerPoint Design Ideas), the Morph transition was used to emphasize the first stage while minimizing the other two stages. These actions could be repeated for each section.


To apply the Morph transition:
- Working from the Normal view or the Slide Sorter view, move to the slide in your presentation that you want to morph from to the next.
- Duplicate the slide. An easy option is the shortcut [Ctrl]+D.
- In the copied slide, change the position, size, and even the color of the objects. Change text as desired.
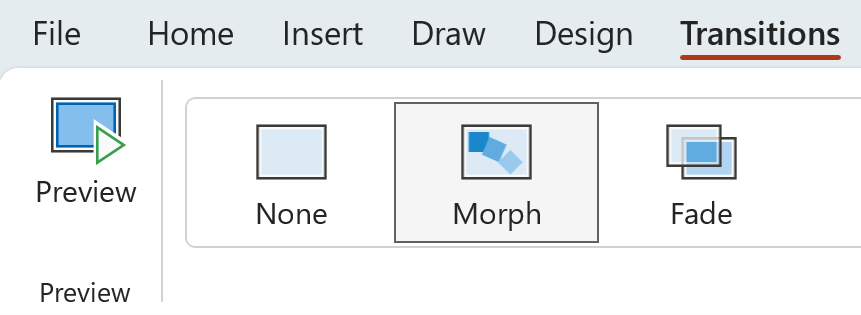
- Next, select the slide that you want to apply a transition to, which should be the second slide with the object, picture, or words you’d like to apply the morph effect to. On the Transitions tab, select Morph.
- Next, pick Transitions > Effect Options to choose how you’d like the Morph transition to work. Options are Objects, Words, or Characters.
- Click Preview to see the Morph transition in action.
Tips When Using the Morph Transition
- When you’re using Morph with text or characters, it may be easier to start with the end result and then change the characters for the starting slide.
- It’s good to know that the Morph transition only works with like objects, for instance, from one shape to another. But not, for example, from a shape to an icon.
As you’ve seen, the easiest way to apply the Morph transition is to make a copy of a slide and then change the objects or text in the second slide. However, there may be times when you want to morph two different objects.
To Rename Objects by Using the Selection Pane
Morph now gives you more control over which objects do and don’t morph. In PowerPoint, you can apply a custom naming scheme to match two objects on successive slides and force one to morph into another. These objects must be the same types of items, such as shapes or text.
The naming scheme is simply to begin an object name with !! (two exclamation points) and to assign the same custom name to the two objects. For example, !!MorphThis. To watch this technique in action, move to the 2:38 time code in the video above.
To rename objects with the selection pane:
- Move to the original slide you want to morph.
- On the Home tab, in the Editing group, click Select > Selection Pane.
- Click a name in the list to select the object. Click it a second time to make the name editable.
The Selection Pane opens on the right side. It shows a list of all the objects on the current slide. Most default names include a descriptive word and a numeral, such as Title 1. - Press [Ctrl]+A to select the entire name. Type !! followed by whatever else you want to include in the name, such as !!ShapeForMorph.
- Press [Enter] to preserve the new name you’ve typed.
Morph expects a 1:1 mapping between objects, so for best results, a specific !!Name should be unique on a slide.
How will you use the Morph Transition to add animation to your PowerPoint presentations?
Were these PowerPoint tips helpful? Discover more PowerPoint techniques and shortcuts at TheSoftwarePro.com/PowerPoint.
© Dawn Bjork, MCT, MOSM, CSP®, The Software Pro®
Microsoft Certified Trainer, Productivity Speaker, Certified Speaking Professional
